
When upgrading living spaces, homeowners often focus on visible changes like freshly painted walls, modern fixtures, and open-concept designs. However, these can mask underlying issues. A home might appear perfect while suffering from structural decay, threatening the building’s security. Ignoring hidden systems can be costly. Minor issues—such as roof leaks, soil shifts, or thermal expansion—can escalate. Water poses a major threat to wooden structures, potentially turning minor problems into major failures. A slow drip inside a wall can rot studs and cause decay. Protecting your home involves shifting to a proactive strategy. Prioritize weight distribution, moisture defense, and framing stabilization before cosmetic improvements. Addressing vulnerabilities systematically protects your investment and requires securing overhead vulnerabilities, sealing the building envelope, controlling moisture, and reinforcing load-bearing capacities.
Overhead Envelope Fortification: Defending Roof Trusses and Foundation Footings
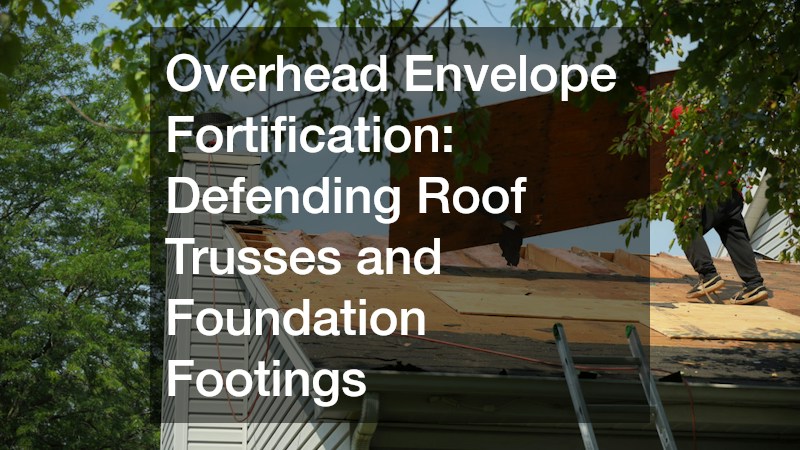
The highest and lowest points of your home are intimately connected by the flow of water. Defending the structural integrity of your property begins with the overhead envelope, which serves as the primary shield against severe weather. When the roof system fails, the resulting water intrusion does not stop at the attic floor; it trickles down through wall cavities, rots intermediate framing, and eventually saturates the soil surrounding your foundation.
Inspecting your roof decking and the associated flashing is an essential first step in shielding your home’s structural framing members. The plywood or oriented strand board (OSB) sheathing beneath your shingles is highly susceptible to moisture. Once this decking becomes saturated, it loses its structural rigidity and begins to rot, which can compromise the mechanical connections of the trusses that hold your roof together. Homeowners should regularly trace any mysterious attic rafter staining, mold blooms on the sheathing, or rust around collar ties directly back to hairline punctures or degraded valley flashing. Replacing soft plywood decking before fungal rot sets in is non-negotiable. To ensure the highest level of structural defense, it is highly recommended to consult a licensed roofing contractor to evaluate your roof’s wind-uplift ratings, inspect the critical step flashing along dormers, and ensure your attic has adequate deck ventilation to prevent heat-induced truss uplift.
Equally important to shedding water off the roof is managing how that high-volume runoff interacts with the ground below. When rainwater is allowed to dump directly next to the house, it creates hydrostatic soil pressure. The saturated earth expands, pushing against foundation walls with immense force, eventually causing them to bow, crack, or settle unevenly.
- Actionable Drainage Corrections: Ensure that all downspout discharge outlets are routed a minimum of 6 to 10 feet away from your foundation walls. This simple extension prevents soil saturation directly at the vulnerable footings of your home.
- Sizing and Pitch Adjustments: Recalculate your current drainage capacity for intense rainfall events. Standard 5-inch systems are often inadequate for heavy storms; upgrading to 6-inch seamless systems sloped at a precise 1/4-inch per 10 feet ensures rapid water evacuation.
- Preventative Installation: Consider partnering with a dedicated gutter company to install fascia-mounted apron brackets and integrated debris-shedding covers. This stops the perimeter water pooling that ultimately causes differential foundation settling and severe basement wall bowing.
Exterior Cladding and Apertures: Sealing the Perimeter Against Sheathing Decay
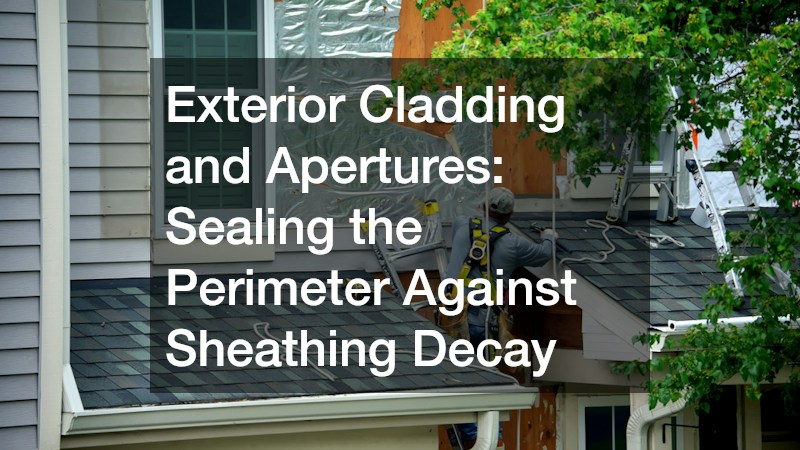
Your home’s exterior walls act as the secondary line of defense against the elements. The siding, weather barriers, and window openings must work in perfect harmony to deflect wind-driven rain and manage vapor. When this perimeter seal is broken, sheathing decay can aggressively compromise the structural studs hidden just inches behind your drywall.
Remedying hidden sheathing rot requires careful observation, as the damage is usually concealed beneath the outer cladding. Homeowners must learn to identify the outward indicators of sub-surface wall failure. These diagnostic signs include wavy or warped siding panels, buckling at the corners of the house, and unexplained interior drywall cracking along exterior-facing walls. These symptoms suggest that moisture has bypassed the outer layer and is currently deteriorating the wood beneath. To restore vapor and air barrier continuity, compromised exterior panels must be carefully removed to inspect the weather-resistant barrier (WRB). Any soft, water-damaged plywood backing must be replaced, and the seams of the WRB must be meticulously re-taped to stop exterior wall cavities from harboring destructive rot. For complex cladding systems, engaging specialized siding services is often necessary to correct improper clearance margins between the exterior panels and the ground grade, install rainscreen drainage mats, and restore weep screeds on masonry or stucco finishes.
Upgrading the rough openings and flanged interfaces where your windows meet the framing is the next critical phase of perimeter sealing. Windows are essentially massive holes cut into your structural walls, and if they are not perfectly integrated into the weather barrier, they become funnels for water.
- Actionable Waterproofing Steps: Flash all window rough sills with appropriately sloped sill pans, self-adhering elastomeric membranes, and mechanical corner patches. This prevents driving rain from pooling at the base of the window and rotting the structural jack studs holding up the header.
- Structural Square and Plumb Checks: Always test for out-of-square rough openings before setting new units. A window opening that is no longer square is a prime indicator of differential foundation settlement that needs addressing.
- Contractor Collaboration: Work alongside certified window contractors to guarantee that replacement units are properly shimmed without bowing the frame. They must be fastened securely into the structural framing rather than the superficial trim, and insulated around the perimeter with low-expansion foam to prevent thermal bridge flexing.
Threshold Realignment and Foundation-to-Floor Stabilization
The areas where your home connects to its foundation, particularly at entry thresholds and across the lowest floor joists, endure a massive amount of mechanical stress. Over time, gravity, moisture, and foundational shifting can cause these transitions to settle, leading to sagging doorways and spongy floors that indicate compromised structural integrity.
Re-anchoring settled exterior jambs and load transfer headers is a vital structural repair. If you notice that an exterior door is suddenly sticking, rubbing against the frame, or failing to latch correctly, you are likely witnessing the early signs of header sag, foundation heaving, or a deteriorated sill plate resting just beneath the threshold. Ignoring a sticking door often leads to much larger framing failures. To correct this, the sub-sill must be meticulously reconstructed. This involves tearing out the rotted rim joists and sub-sill framing beneath the exterior doors and rebuilding the entire support structure with pressure-treated lumber and stainless steel fasteners prior to setting a new unit. Executing a precision exterior door replacement requires incorporating heavy-duty sill pan flashings, driving structural anchor screws directly into the wall’s king studs, and applying airtight weather-stripping to completely arrest water migration into the vulnerable subflooring.
Moving inward from the thresholds, eliminating joist deflection and subfloor sponginess is critical for the home’s internal stabilization. A bouncy floor is not merely a nuisance; it is a warning sign that the framing beneath is undersized, over-spanned, or weakened by moisture.
- Deflection Measurement: Understand your subfloor deflection limits. Building codes typically require a deflection limit of L/360 for standard residential loads, but require a much stiffer L/720 if you plan to install rigid stone or tile, which will crack if the floor flexes.
- Structural Remediation: When joists are weakened, they must be sistered. This involves bolting new engineered lumber, such as Laminated Veneer Lumber (LVL), directly to the sides of the damaged joists, reinforcing the blocking between them, and replacing any dry-rotted tongue-and-groove subflooring panels.
- Substrate Preparation: Preparing a fully flat, structurally reinforced subfloor is an absolute prerequisite prior to any new flooring installation taking place. A rigid, mathematically flat substrate prevents future surface cracking, eliminates maddening joist squeaks, and ensures that heavy loads are evenly distributed across the lower foundation piers.
Mechanical and Moisture Control: Safeguarding Structural Framing from Within
While exterior weather is a well-known threat to a home’s integrity, the mechanical systems running inside the walls can be just as destructive if they malfunction. Plumbing and climate control systems have the potential to introduce catastrophic moisture directly into the enclosed, unventilated cavities of your home’s framing.
Detecting in-wall supply seepage is a high-stakes endeavor to protect load-bearing wall studs. Because modern plumbing is hidden behind drywall, a slow leak can fester for months or even years before it becomes visible. Using advanced diagnostic tools like thermal imaging cameras and digital moisture meters can help you pinpoint silent pinhole leaks inside enclosed wet walls long before the moisture completely destroys the structural framing. Furthermore, the framing itself is often compromised during the initial installation of pipes. Oversized plumbing notches cut into floor joists and wall studs weaken the wood’s load-bearing capacity. These must be corrected by installing structural stud shoes and reinforced steel plates to bring the framing back to code. To prevent future disasters, schedule residential plumbing services to proactively replace degraded galvanized or polybutylene piping, reseal vulnerable shower waste penetrations, and upgrade pressure-reducing valves to eliminate the violent water hammer vibrations that can eventually shake pipe fittings loose and damage framing.
Equally insidious is the damage caused by unmanaged humidity. Regulating the enclosed relative humidity of a home is the only way to inhibit dry rot, a devastating fungus that feeds on wood fibers in damp, stagnant environments.
- Crawlspace and Attic Climate Management: Homeowners must actively manage interstitial condensation in enclosed cavities. These are the dark spaces where moisture silently rots sill plates, band joists, and roof trusses out of sight.
- Ductwork and Drainage Strategy: Ensure all unconditioned duct runs are heavily insulated to eliminate condensation drip during the summer cooling months. Furthermore, secondary condensate overflow lines must be routed safely outside the foundation perimeter, rather than dripping into a crawlspace.
- System Balancing: Consult professional HVAC companies to accurately size whole-home dehumidification systems, balance indoor static pressures, and implement continuous ventilation routines that reliably keep the framing moisture levels safely below the critical 16% rot threshold.
Load Redistribution and Dead-Weight Upgrades in High-Use Spaces

As homes age, they frequently undergo modernizations that drastically alter their original weight distribution. When homeowners desire heavier, more luxurious finishes—particularly in central hubs like kitchens and bathrooms—the underlying skeleton of the house must be upgraded to support the massive increase in dead-weight loads.
Assessing floor joist capacity for concentrated static loads is the mandatory first step before tearing down walls or ordering heavy materials. Homeowners must audit their subfloor capacity and check their joist spacing. While older homes may have joists spaced at 16 inches on-center, supporting dense commercial-grade appliances and heavy masonry focal points often requires upgrading to a 12-inch on-center layout or significantly deeper joists. Additionally, load paths must be strictly verified. Over decades of settling, non-load-bearing partition walls sometimes absorb incidental weight from the ceiling above. Verifying this ensures that modern open-concept floor plan reconfigurations do not inadvertently sever critical structural ceiling ties. For these reasons, structural-first kitchen renovations must be rigorously planned. You must prioritize hidden reinforcement—such as adding intermediate mid-span beams or heavy steel post supports in the basement—long before you address the aesthetic upgrades above ground.
Reinforcing the sub-structures and cabinetry foundations is equally important when introducing high-density surface materials into a residential space. Beautiful, heavy finishes will literally tear themselves apart if the foundation beneath them is allowed to shift or sag.
- Substructure Load Spreading: Ensure that long runs of base cabinetry are shimmed to be dead-level across the entire span. This precision prevents point-load stress fractures along the seams of heavy stone and stops floor joists from bowing under concentrated weight.
- Framing Bracing Protocols: Fasten rear cabinet stiles directly into the heavy wall framing members using thick, shear-resistant structural screws. Never rely on standard drywall anchors, which will shear off under the immense weight of loaded cabinets.
- Material Installation Best Practices: Always install structural underlayment plywood and robust steel corbel supports across the cabinets before setting a heavy quartz countertop in place. This guarantees that the immense dead load—often ranging from 15 to 20 pounds per square foot—is channeled straight down into the reinforced floor framing without causing localized, destructive sagging.
Understanding the structural mechanics of your property has long-term benefits that aesthetic updates cannot match. By reinforcing framing, preventing moisture intrusion, and securing internal load paths, you protect your home equity from depreciation. A new bathroom offers little return if the floor joists beneath it are rotting. Adopting a structural-first mindset ensures that modernization expenses have a solid foundation. Homeowners should implement a clear plan for property maintenance. The top priority is to prevent water intrusion, focusing on the roof, gutters, and exterior. Next, ensure load-bearing elements like joists and subfloors are reinforced before sagging occurs. Lastly, update high-load areas like wet walls and kitchen platforms. Long-term discipline requires record-keeping. Homeowners should keep a structural maintenance logbook along with financial records. Documenting inspection dates, load recalculations, and resealing schedules turns you from an occupant into a steward of your home’s structural system, ensuring safety and durability for years.